Lego Construction Basics- Inputs
Goal: To introduce the light and touch sensors.
submitted
by Elissa Milto Somerville, MA
OVERVIEW
-- IMPLEMENTATION
-- PROGRAMMING
-- WORKSHEETS
& HANDOUTS -- OTHER
INFORMATION -- SAMPLE
RESULTS -- FEEDBACK
OVERVIEW
Brief Description: Students connect light and touch sensors to the RCX
to learn how they function.
Subject:
Engineering/Technology
Topic: scientific exploration
Grades:
1 - 8
Lego Materials:
RCX:
y
Sensor(s): LEGO Touch , LEGO Light
Set(s): None
LEGO Pieces: You also need two
motors.
Minimum ROBOLAB: none
Additional Materials:
Standards:
| Math |
| Data Analysis and Probability Standard - Formulate
questions |
| design investigations to address a question and consider how
data-collection methods affect the nature of the data set (3 - 5) |
| pose questions and gather data about themselves and their
surroundings (Pre-K - 2) |
| Data Analysis and Probability Standard - Develop and
evaluate |
| discuss events related to students' experiences as likely or
unlikely. (Pre-K - 2) |
| Science |
| none selected |
| Technology |
| Standard 10 - Students will develop an understanding
of the role of troubleshooting, research and development, invention and
innovation, and experimentation in problem solving. |
| Asking questions and making observations helps a person to figure
out how things work. (K - 2) |
| Standard 12 - Students will develop the abilities to
use and maintain technological products and systems. |
| Discover how things work. (K - 2) |
IMPLEMENTATION
Preparation Before Students Arrive:
none
In Class Activity:
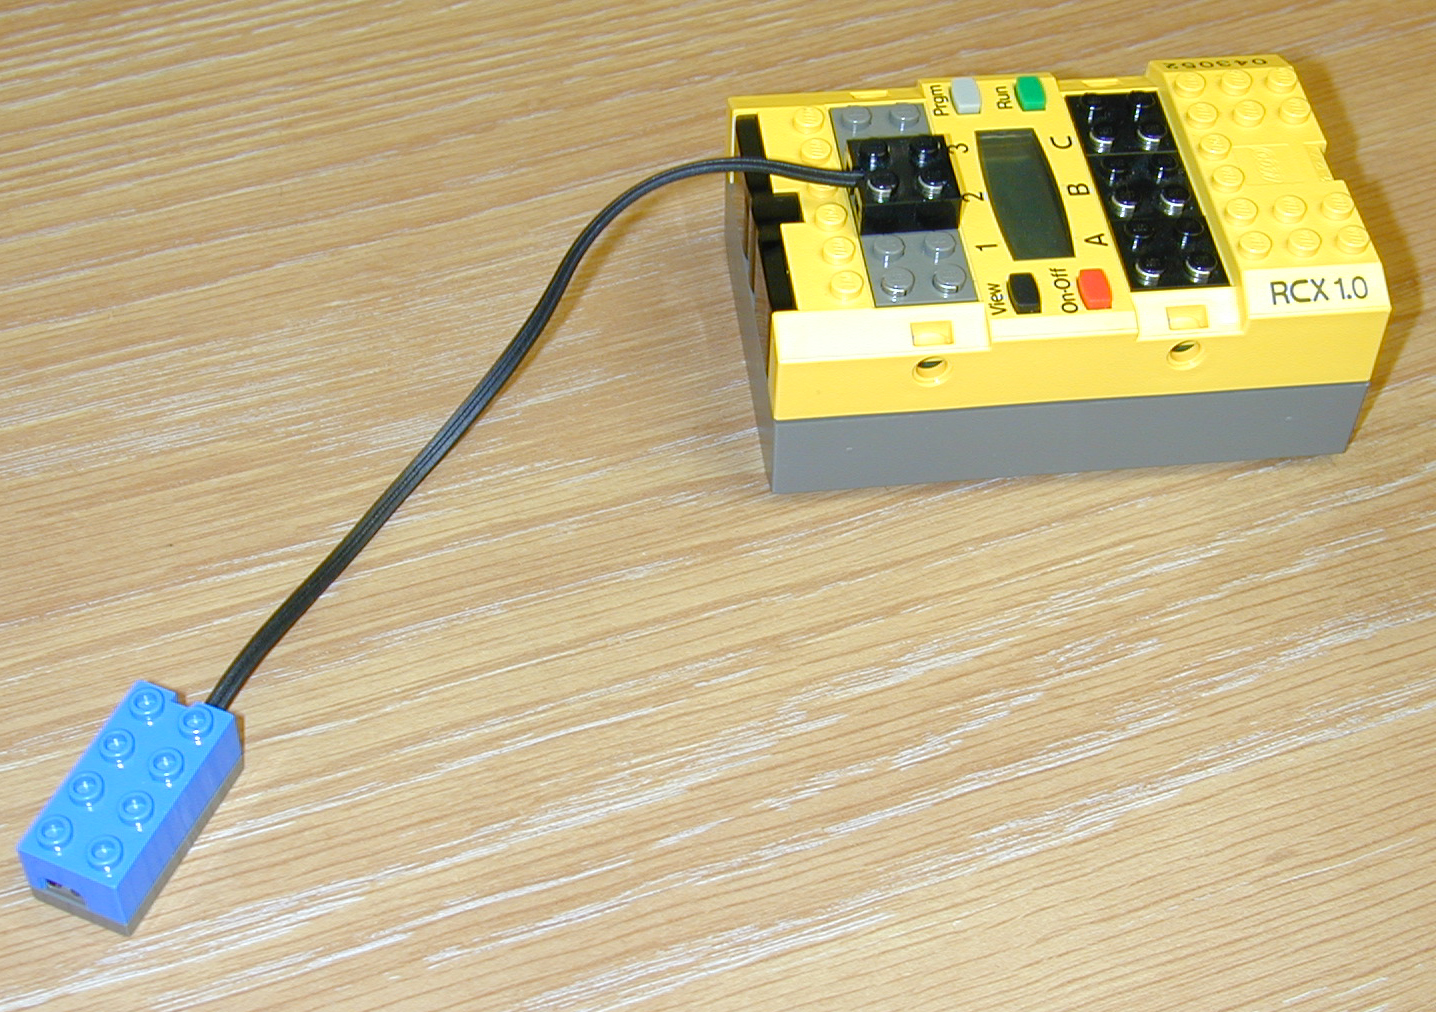
Light Sensor
Connect the light sensor to port 2 on the
RCX. Press the VIEW button several times. Tell students to notice how the
arrow moves around the screen. Explain that this is the light level on a
scale from 1 to 100. |
 |
| Have students look at the light on the front of the sensor.
Aim the light sensor at the light in the room. Now, hold the sensor about
six inches from the surface of the desk with the light pointing down. Move
the light sensor toward the table slowly. Keep an eye on the reading on
the screen of the RCX. |
|
| Ask students to explain what happens as the sensor gets
closer to the table. Why? |
|
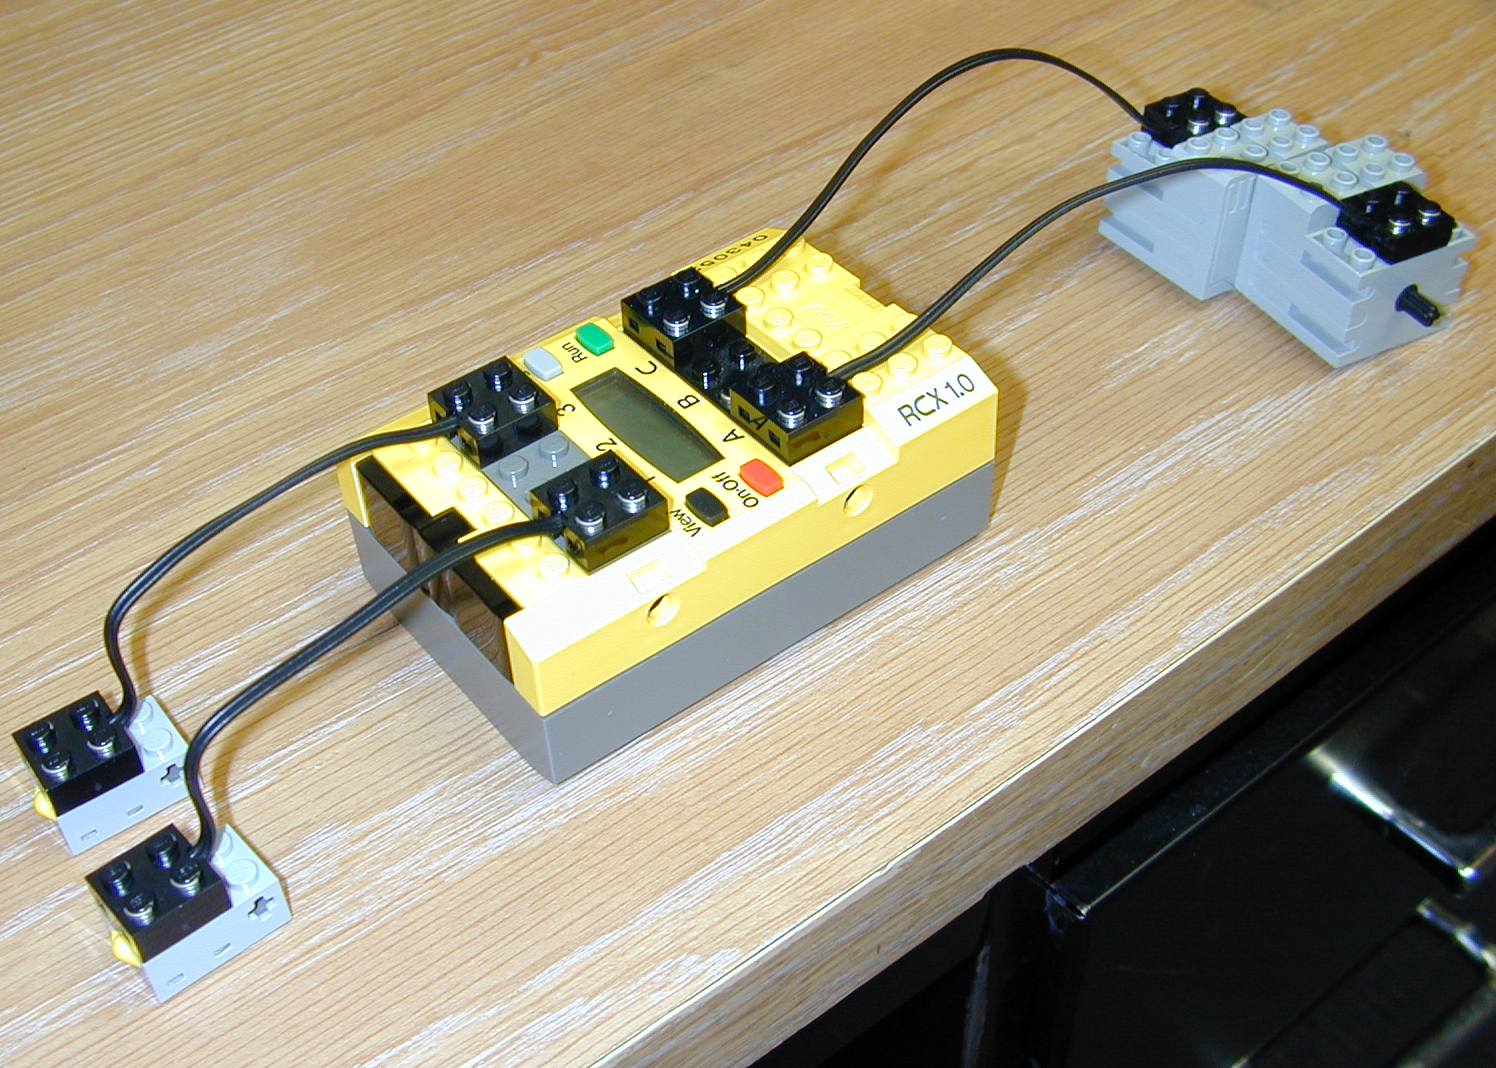
Touch Sensor
Connect the touch sensors to inputs 1 and 3.
Connect two motors to outputs A and C. Press the PRGM button until program
2 is selected. Press the RUN button. The two motors should rotate. Press
the touch sensor connected to port 1, then the touch sensor attached to
port 3. Ask students what happens to the motors. |
 |
| Press the RUN button again. Has anything changed? |
|
PROGRAMMING
WORKSHEETS/HANDOUTS
| Detailed description of activity, questions, and possible
activities. |
download
handout
(Microsoft Word File) |
| Detailed description of activity, questions, and possible
activities. |
Download
handout
(Adobe Portable Document Format) |
OTHER
INFORMATION
Modifications: The activity could be split into two activities- one
for each sensor. After the activity with each sensor, students could build and
incorporate the sensor into a design.
Hints:
Associated
Literature:
Extensions: Questions:
1) If a light sensor is
pointed at a light bulb, what value will the RCX display?
2) If the RCX can
understand 100 different light values, how many different values does the RCX
understand for the touch sensor? What do you think these values are?
3) What
will happen if you hook up a touch sensor to port B?
Activities
1)
Build a remote control car with a wired remote control.
2) Test the light
intensities emitted by the lights in the classroom. Compare them to the lights
in the hall and to the sunlight coming through the window.
3) Build cars that
stop when they touch a wall.
SAMPLE
RESULTS
FEEDBACK
View
feedback on this activity
Give
feedback about this activity