Panasonic Toughbook CF-18
ISL Standardized Setup

by

Dr. J (Juliano@csuChico.edu) )


The Intelligent Systems Lab (ISL) has three Panasonic Toughbook CF-18 laptops that are used primarily for research purposes in the Soccer Bots Sony AIBO Robocup project, the Intelligent Ground Vehicle project, and various outher ISL-related projects. This page documents the Ubuntu/WinXP dual boot setup and customizations made to standardize these machines. The following sections are available (click on the arrow to jump to that section):

  1. Machine specifications
  2. Screen shots
  3. Installing Ubuntu 5.10 (Breezy Badger)
  4. Setting up the GNU GRUB splash screen
  5. Setting up the GDM configuration
  6. Setting up the theme
  7. Setting up usplash
  8. Software installation - MS WinXP Pro side
  9. Software installation - Ubuntu side


  1. Machine specifications

    Standard features of the Panasonic Toughbook CF-18 fully rugged, wireless notebook PC convertible to tablet PC are:

    • Intel Pentium M Processor ULV 753 (1.20GHz, 2MB L2 cache, 400MHz FSB)
    • 1GB SDRAM, 60 GB HDD
    • Microsoft Windows XP Professional
    • 10.4" outdoor-readable color LCD swivels for optimum visibility
    • Pressure-sensitive touchscreen can be used with a stylus or the touch of a finger
    • 1.9" (H) x 10.7" (W) x 8.5" (D)
    • 4.5 lbs., lightweight design
    • Simultaneous access to wireless WAN/LAN (Intel PRO/Wireless 2915ABG network connection 802.11a/b/g), Bluetooth V1.2 and GPS
    • Full magnesium alloy case with handle
    • Moisture- and dust-resistant LCD, keyboard and touchpad
    • Sealed port and connector covers
    • Shock-mounted removable hard drive in stainless steel case
    • USB 2.0 (x2) - 4 pin, 10/100 Ethernet - RJ-45, SmartCard Reader


     CF-18 specifications sheet


    For additional information, check out the Panasonic corporate website or the product details available online.


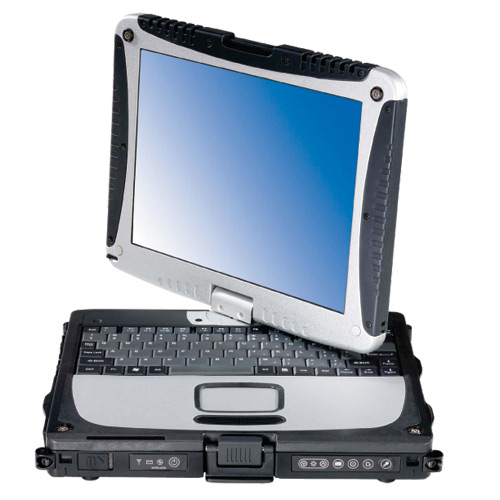
    CF-18 in notebook configuration
    showing screen swivelled

    CF-18 in tablet configuration
    and touchscreen stylus

    Return to Table of Contents ...


  2. Screen shots

    Here are screen shots of the standardized MS Win XP Pro-side desktop:

    Standard desktop


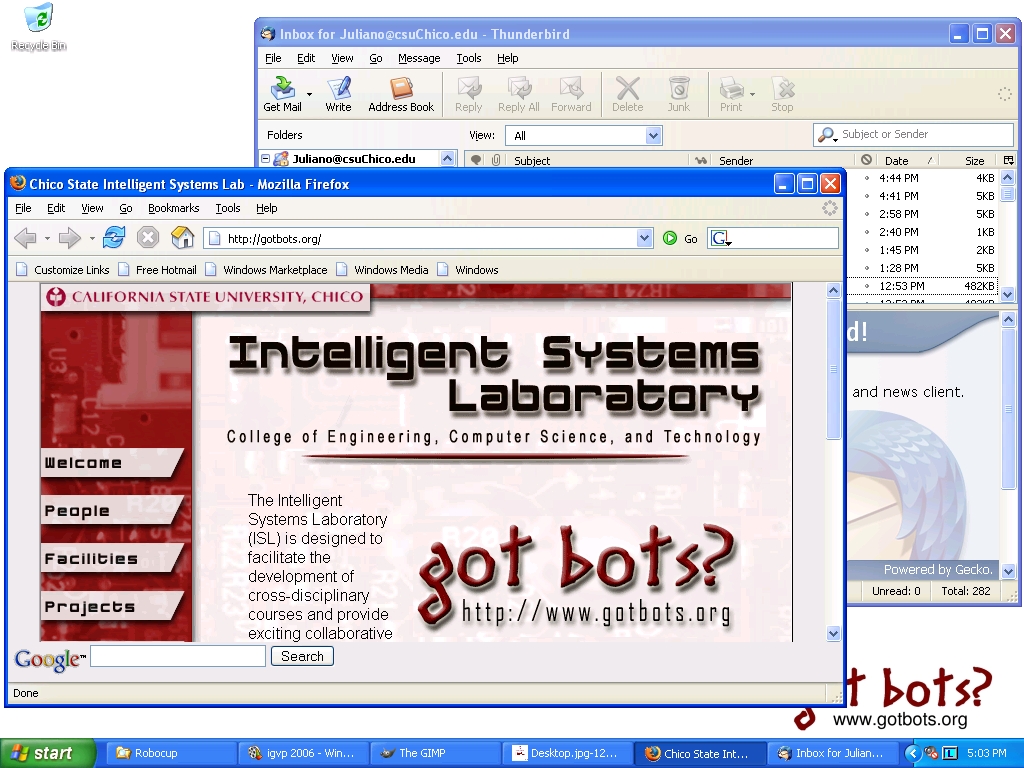
    Desktop with other apps running
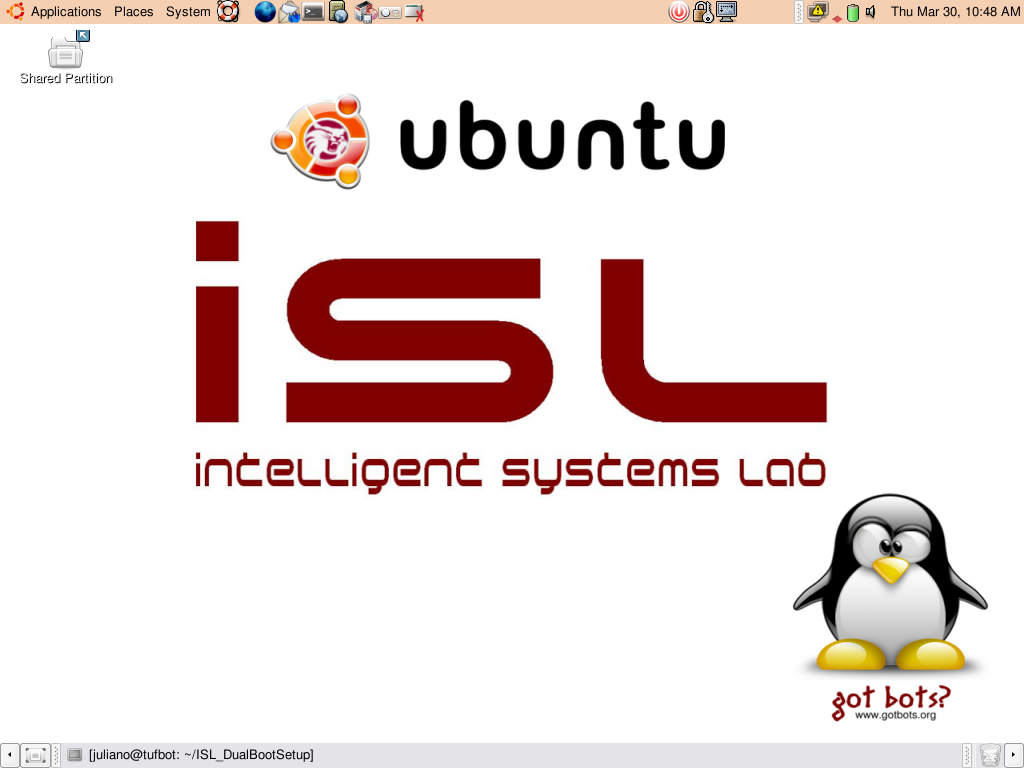

    Here are screen shots of the standardized Ubuntu-side desktop:

    Standard desktop


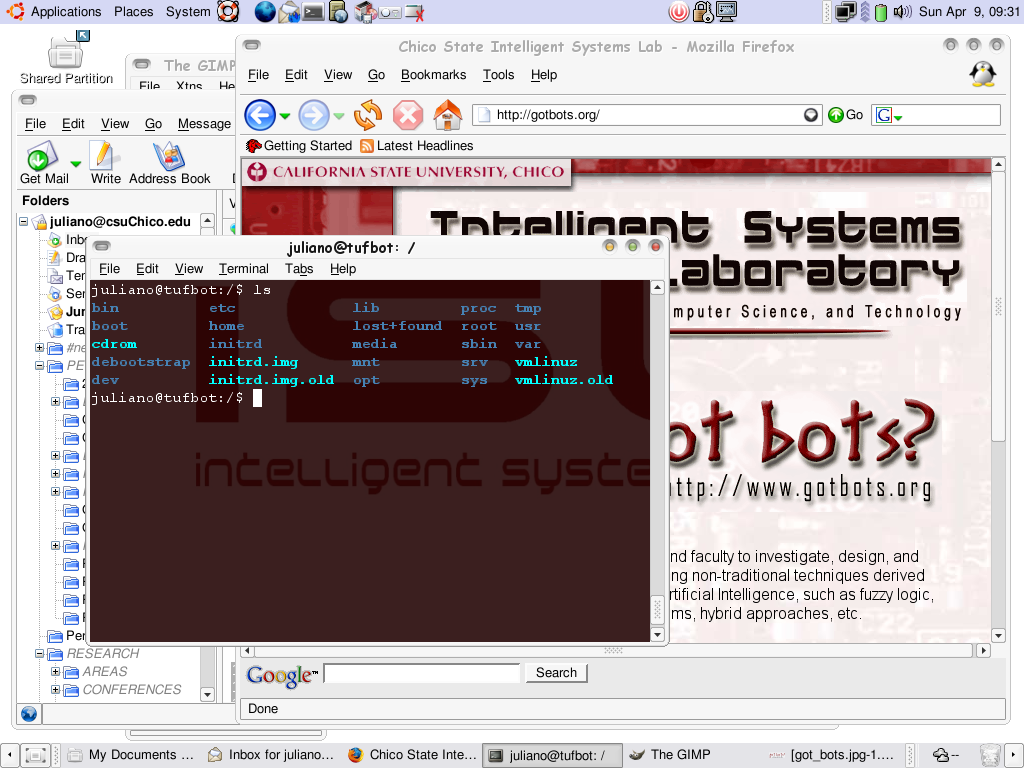
    Desktop with shell and
    other apps running

    Return to Table of Contents ...


  3. Installing Ubuntu 5.10 (Breezy Badger)

    This section details the Ubuntu/WinXP dual-boot setup and installation for the Panasonic CF-18 laptops.

    A. Partitioning the hard drive.

    Prior to partitioning the 60GB HDDs on the CF-18s, the machines were booted on MS Win XP Pro (default configuration as acquired) and the drives were defragmented. Next, the CF-18 HDDs are partitioned as follows:

    • 13.5 GB NTFS partition for MS Win XP Pro
    • 12 GB extended partition for Ubuntu 5.10 linux (11.5 GB ext3 and 500 MB linux-swap partitions)
    • 30 GB FAT32 shared data partition between MS Win and linux
    • 1 GB linux-swap partition

    This was accomplished by booting off of a Knoppix boot CD.

    B. Installing Ubuntu.

    Insert instructions here.
    C. Other.

    Insert instructions here.
      

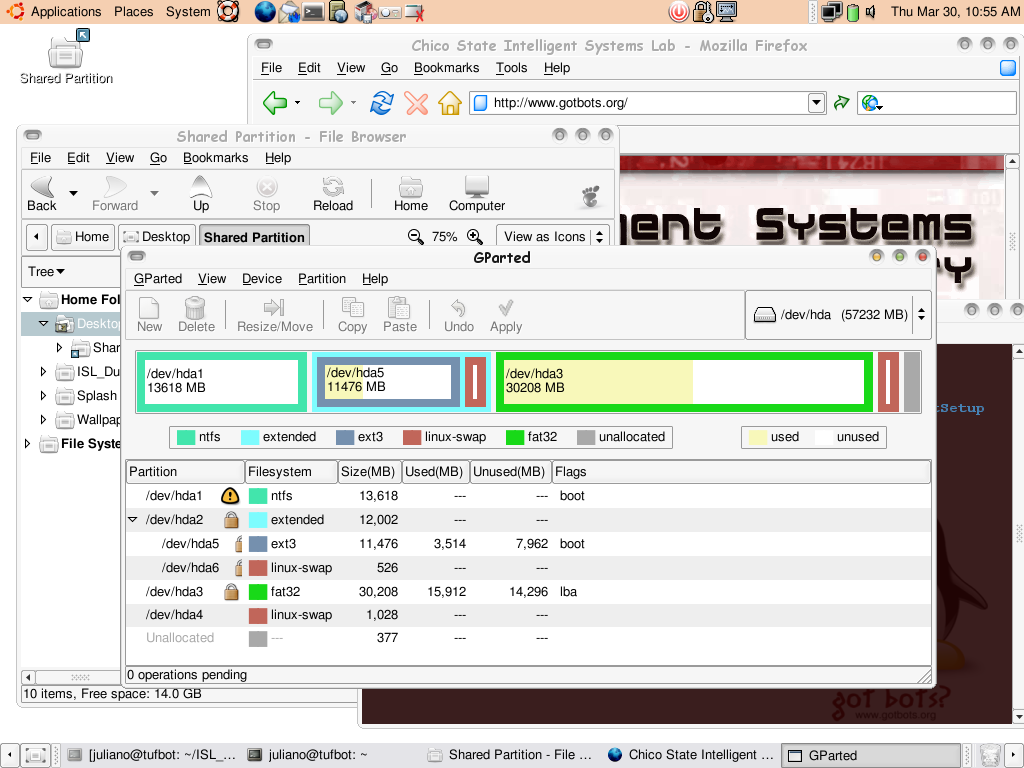
    Desktop with GParted running

    Return to Table of Contents ...


  4. Setting up the GNU GRUB splash screen

    A standardized GNU GRUB splash screen was developed as follows:

    References:

    1. the GNU GRUB FAQ
    2. the GRUB manual
    3. posting http://www.ubuntuforums.org/showthread.php?t=30341 - HOWTO: Grub splash images - on the Ubuntu Forums
    4. the GRUB Splash Image Howto
    5. the Linux bootsplash project


    Grub splash screen

    Return to Table of Contents ...


  5. Configuring GDM - the GNOME Display Manager

    GDM is the GNOME Display Manager, a graphical login program. GDM was configured to have a standardized graphical login screen based on the Tux C12 Ubuntu GDM Theme by Montes Miguel. Here are the modification steps:

    1. If the boot splash application is not available, open a terminal window and type
      			 sudo apt-get install snome-splashscreen-manager
      or use the Synaptic graphical package manager.

    2. Download the Tux qC12 Ubuntu GDM Theme by Montes Miguel from http://www.gnome-look.org.

    3. Here's what the login screen looks like via xnest

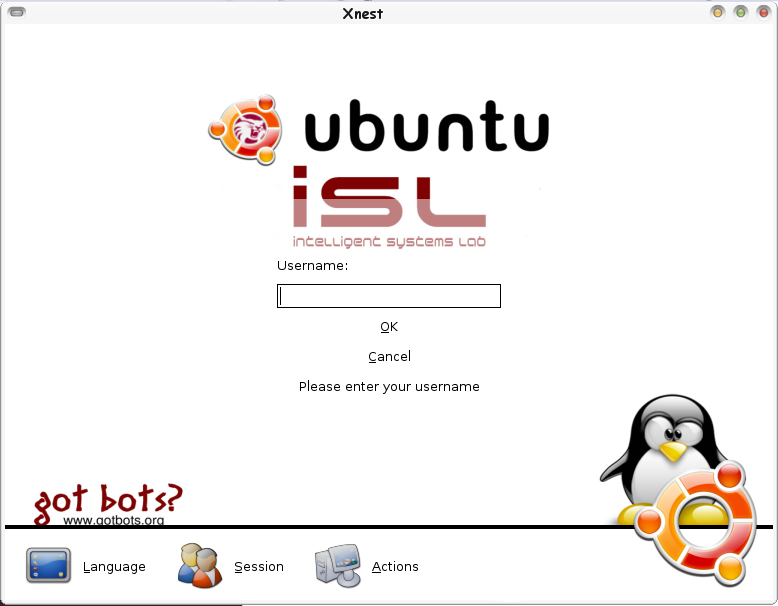
      Standard login screen


    References:

    1. Additional GDM themes available from http://www.gnome-look.org and http://art.gnome.org/.
    2. HOWTO: Setup Desktop EyeCandy Tips and Tricks.

    Return to Table of Contents ...


  6. Setting up the theme

    Return to Table of Contents ...


  7. Setting up usplash

    Return to Table of Contents ...


  8. Software installation - MS WinXP Pro side

    Return to Table of Contents ...


  9. Software installation - Ubuntu side

    1. brickos, alternate OS for LEGO Mindstorms RCX
    2. lnpd, daemon for LNP communication with BrickOS
    3. nqc, Not Quite C compiler for LEGO Mindstorms RCX

    Return to Table of Contents ...